How to Install a 3-Way Light Switch—DIY Guide

It’s true: controlling your lighting has gone beyond the simple flip switch. There are smart home switches which include everything from our peel-and-stick wireless smart switch or ceiling fan switch to our wireless remote light switch that allows you to control your lighting from the couch, bed, or wherever you’re comfortable.
But what if you want to stick with traditional lighting?
Well, adding a standard 3-way switch also comes with a lot of benefits—like convenience, flexibility, safety, and so much more. Plus, a 3-way switch installation is a practical and empowering process for any seasoned DIY-er or beginner looking to take on a new project.
So in this blog, we’re going to walk you through how to install a 3-way switch, how it works, and all the benefits that come with it. Ready to get started? Let’s do it.
What Is a 3-Way Light Switch?
In traditional electrical setups, a 3-way light switch is paired with an additional 3-way switch to give you control of a light or appliance from two different locations. Both switches are designed to either complete or interrupt the circuit—allowing you to turn lights on or off from two areas of the room. The control setup is slightly more complicated than a standard single-pole switch. Here’s how they work:
- If both switches are in the “off” position, the light is off.
- If either Switch A or Switch B is in the “on” position, the light is on.
- If the light is on due to one switch being in the “on” position, you can turn it off from the other switch regardless of its position.
How Do 3-Way Light Switches Work and Where Is Best Suited to Use Them?
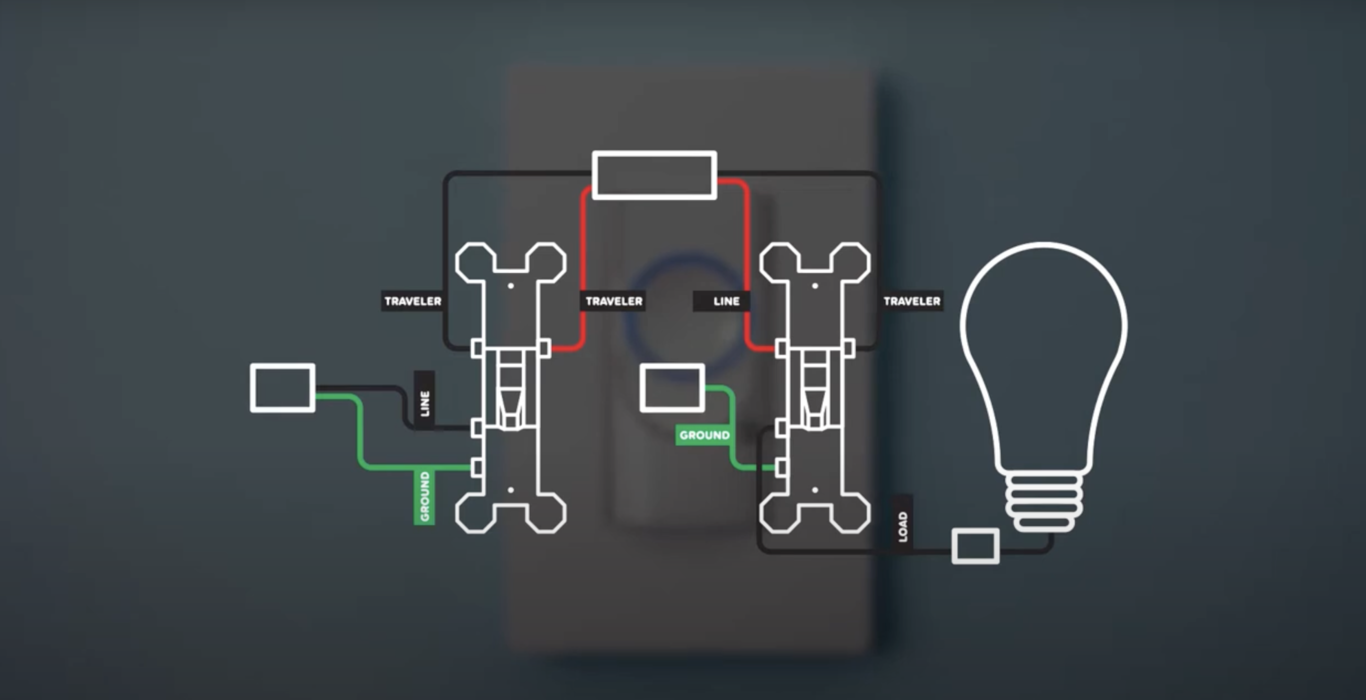
Compared to a single-pole switch, 3-way switches use a more complex wiring arrangement to achieve their functionality. They have a common wire, which carries the electrical current to the light as well as two traveler wires that move the signal between the switches. When a switch changes its position, they either connect or disconnect the common wire from one of the traveler wires, which allows the circuit to either complete or break. And because the switch can be on or off in either position, 3-way light switches don’t have “ON” or “OFF” labels on them.
The 3-way setup is a great option for different rooms—and for different reasons. By putting switches at the top and bottom of your staircase, you can improve the safety of your home. They can add flexibility and convenience by positioning them around large spaces or at either end of a hallway. They can even improve the energy efficiency in your home.
What Tools and Materials Are Required to Install the 3-Way Light Switch?
In addition to your new 3-way light switch(es), here’s what you’ll need.
- Screwdrivers (both flathead and Phillips)
- A wire stripper
- Needle-nose pliers
- A voltage tester
- Wire nuts (typically included in the switch’s package contents)
- Electrical tape
Directions for Wiring a 3-Way Light Switch.
So how do you wire a 3-way switch? Just follow these simple steps.
WARNING: We ask you to please follow each step carefully. If you don’t feel comfortable handling electrical wiring, hire a qualified electrician to perform the installation. And it’s important to ensure all work meets applicable local and national codes.
Also, BEFORE YOU BEGIN, turn off the power to the circuit you’ll be working on at the breaker box. And then, use the voltage tester on both switches to confirm that the power is off.
STEP ONE: REMOVE OLD SWITCHES
Remove the existing screws out of the faceplates of both switches. As you gently pull the switches out of the wall, pay close attention to the wiring and how it’s connected. It’s also a good idea to take a picture of the wiring setup before you detach the old switch from the wall box for future reference.
STEP TWO: CONNECT THE WIRES
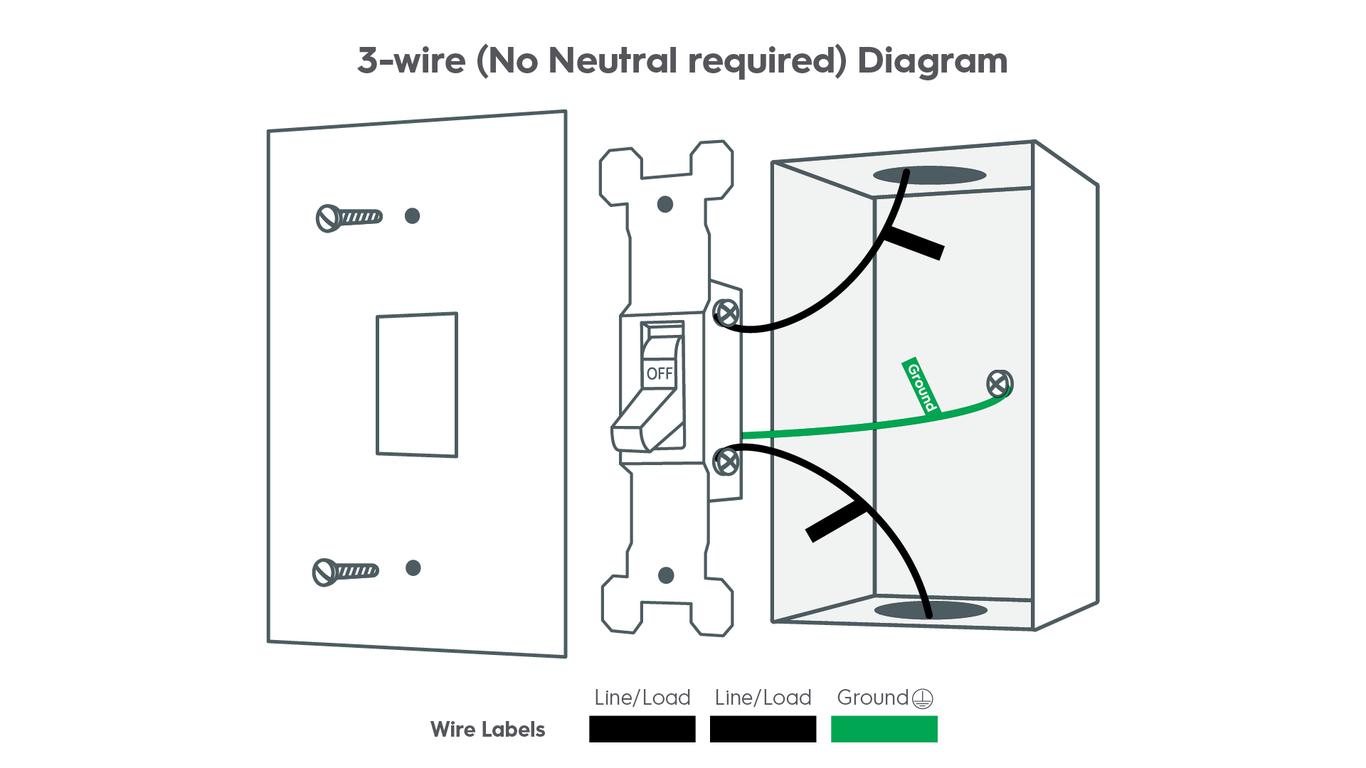
Connect the ground wire from the wall to the green screw on your new switch. Attach the common wire to the terminal labeled “common.” Connect the traveler wires to the remaining terminals on the switch. Secure the wire connections with wire nuts and wrap them with electrical tape.

STEP THREE: ATTACH THE SWITCH TO THE BOX
Gently push the wires and the switch back into the electrical box, using your needle-nose pliers. Then, use the screws to attach the switch to the face of the electrical box.
STEP FOUR: ADD THE FACEPLATE
Add the new faceplate over the switch and secure it with screws. Once you’ve followed these steps for both switches, turn the power back on at the circuit breaker and test the switches to ensure that they’re functioning properly. And make sure the 3-way configuration is working as intended by turning the light on and off at both locations. If it is, congratulations on your new 3-way lighting setup!
3-Way Light Switch Wiring Video
For additional assistance, check out this (3-Wire) 3-Way Smart Switch installation video:
Enjoy Your 3-Way Lighting Setup
All done? Congratulations! We hope you enjoy the enhanced convenience, safety, and versatility to your home, as well as a well-deserved sense of accomplishment.
For installation instructions of our other products, visit CyncSupport.GELighting.com.
Related Articles
-
1 November, 2023
How to Change a Recessed or Canned Light Bulb
-
20 September, 2023
How Do Smart Bulbs Work with Switches (Regular or Smart)?
-
1 August, 2023
How to Hang Rope Lights – Easy Step-by-Step Guide
-
8 June, 2023
The Benefits of Installing a Smart Thermostat in Your Home
-
15 May, 2023
What Is the Difference Between Accent, Task, and Ambient Lighting?
-
5 May, 2023
Matter Smart Home Standard – Everything You Need to Know


