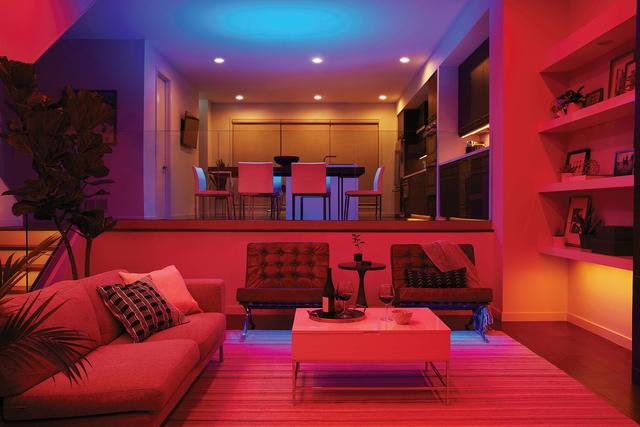
LED strip lights bring the best of bulbs to a more flexible, controlled setting. Their long, thin shape makes them ideal for adding ambient glow in harder-to-reach areas. Since the strips are LED, you can comfortably enjoy the glow knowing they’re as beautiful as they are energy efficient. Ready to get started? Installation of LED strip lights may require the following tools:
- Measuring tape
- Scissors
- Wet cloth
- Ladder (if installing on ceiling)
- Double-sided adhesive (optional)
Once you have your tools within reach, we can begin.
Step 1: Choose the surface
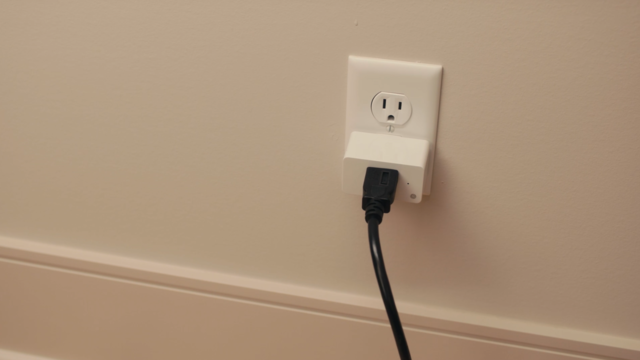
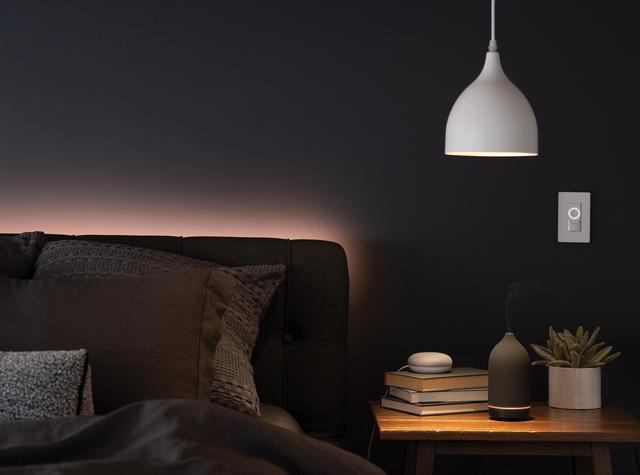
First, choose the location in which you will be installing your light strips. For subtle kitchen brilliance, try adding them under countertops, surrounding an island, or above cabinets. If you’re looking to add color to a game room, consider installing RGBW LED strips on the ceiling or behind the television. If you’d like to amp up bedroom ambience, install your strip lights behind the bedframe or under your bed. When choosing, consider if an outlet is nearby to power your strip lights. If you’ve decided to install your strip lights on a wall or ceiling, you may want to consider using wireless LED strip lights for a cleaner look.
Step 2: Measure the surface
Once you’ve chosen the area where you’d like to install your LED strip lights, measure it. Your lights are adjustable, so you can custom fit them to different lengths. Write down your measurements so you can refer to them when you complete the next step.
Step 3: Adjust your strip lights
If the length of your installation area is longer than the light strip, you may need to purchase a strip extension. Strip extensions are sold separately. Connect the extensions by removing the plastic covers from each end and plugging one strip into the other. Please do not bend or connect the strip lights at a 90-degree angle, as you might around the corners of a television or bookcase. Instead, make a small loop with the light strip to change direction, or use a flexible connector. If the surface area is shorter than your strip light, trim the strip along the marked lines to an appropriate length. Cut only along the marked areas to avoid permanently damaging the light strip. For your safety, make sure the strip is unplugged before cutting or extending.
Step 4: Clean and dry the surface
Now that you’ve fit your light strips, it’s time to prepare the surface. Wipe the area down with a wet cloth to remove any oils or debris from the surface. It’s important to note that the strip light adhesive is very strong and could damage surfaces or walls if removed. If you’d like to move the strip light after installation or reinstall it in a different spot, we recommend applying a double-sided adhesive instead.
Step 5: Place your strip lights
Once the surface is ready, installation is simple! First, peel the backing from the strip light adhesive. Then, press and hold it to the surface for at least 10 seconds, or until the light firmly adheres to its surface. Then, repeat the press-and-hold process every six inches across the entire length.
Congratulations! You’ve successfully completed the installation of your LED strip lights. Now that you’re a peel-and-stick pro, you may have developed a desire for more DIY lighting installations. If that’s the case, you can find more tips, tricks, and other home lighting solutions by visiting our blog.


